
Last updated November 22, 2026
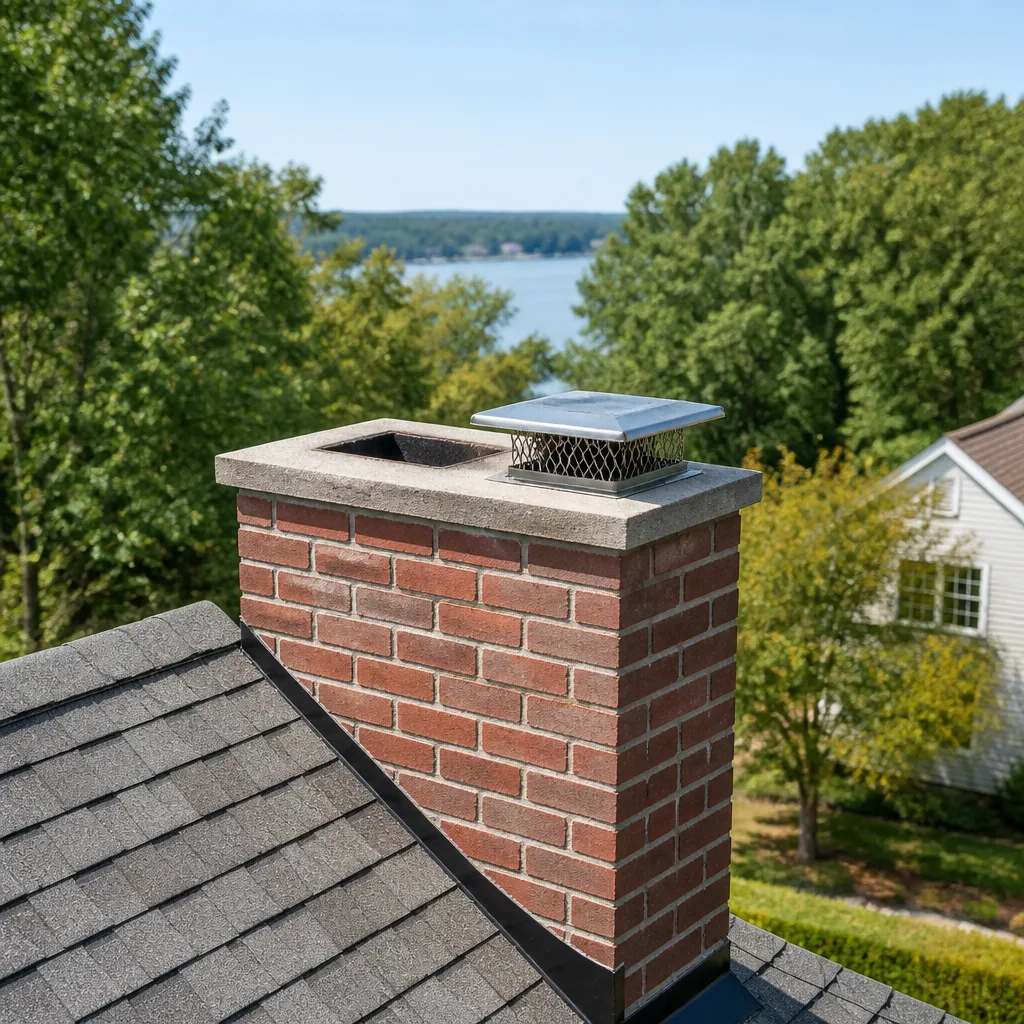 Sweep & inspection
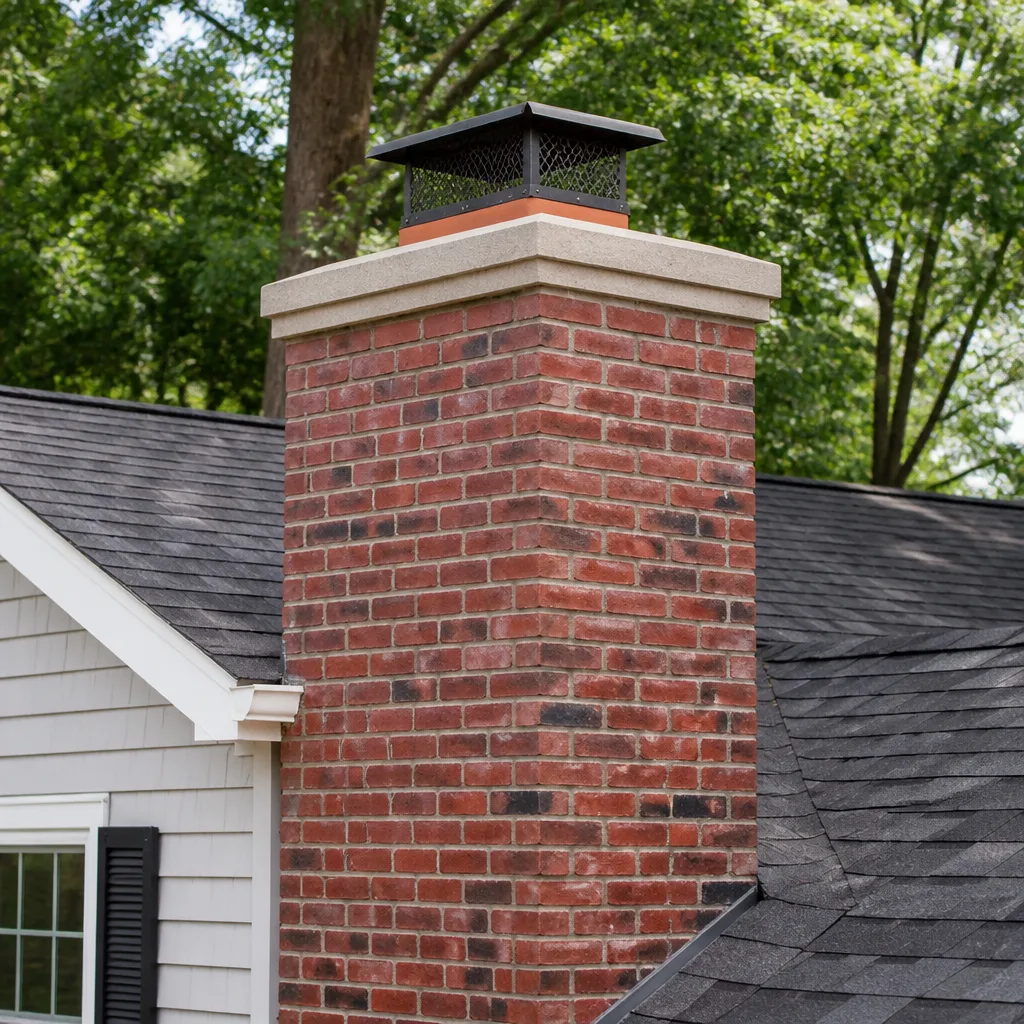 Caps & crowns
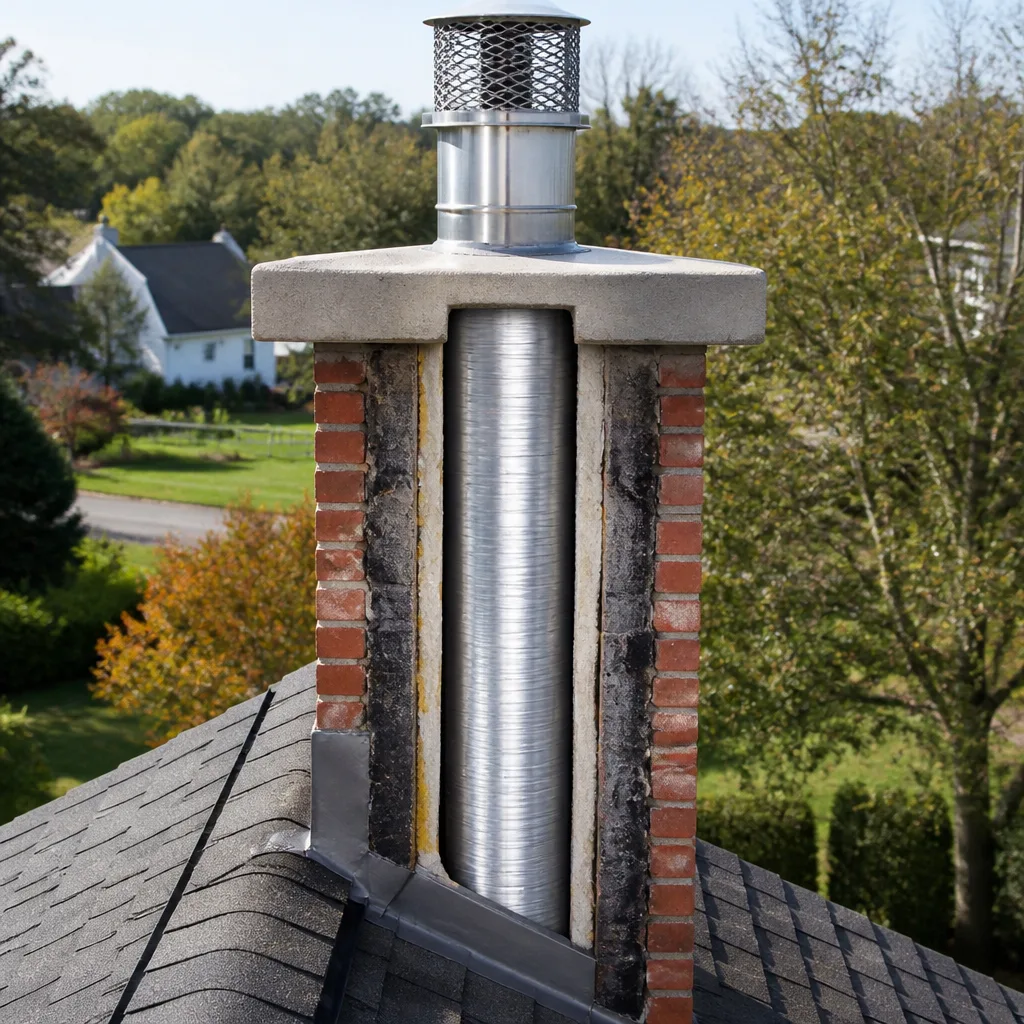 Flue relining
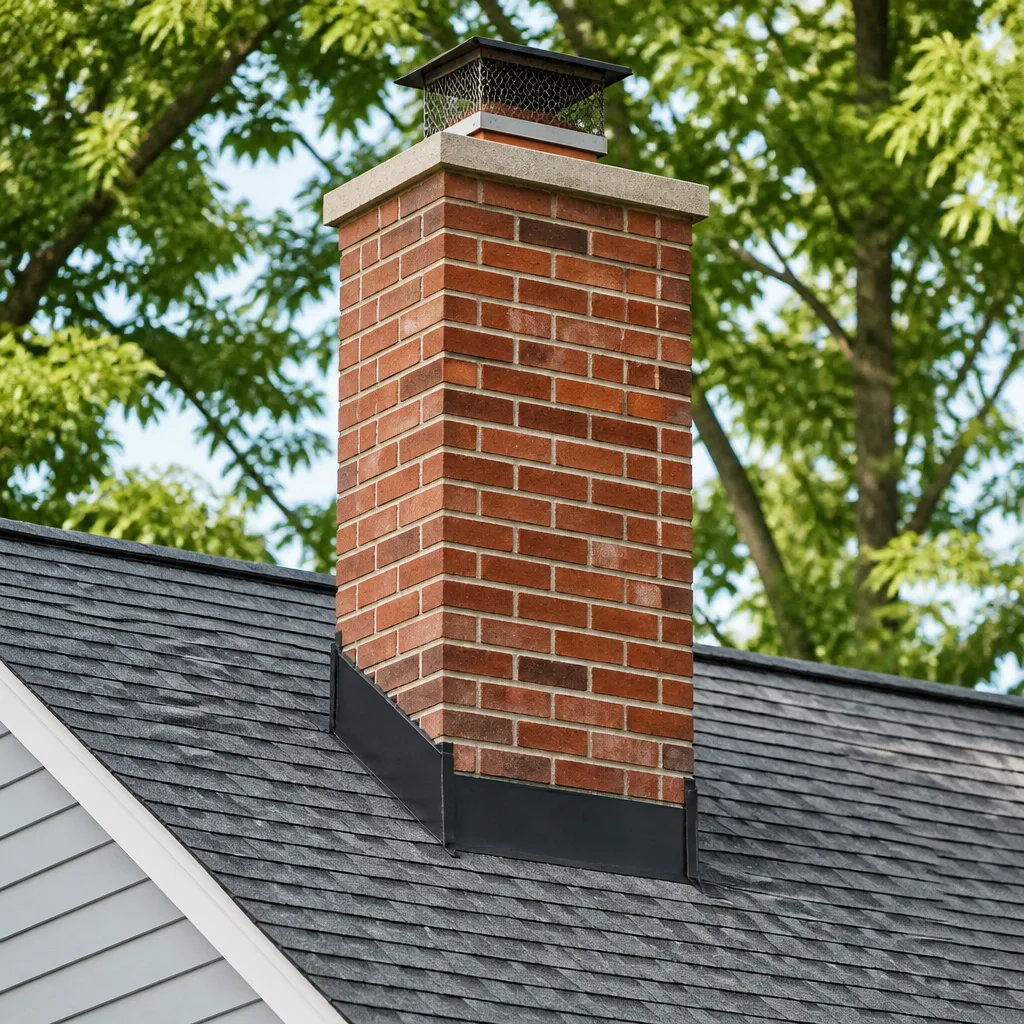 Masonry repair
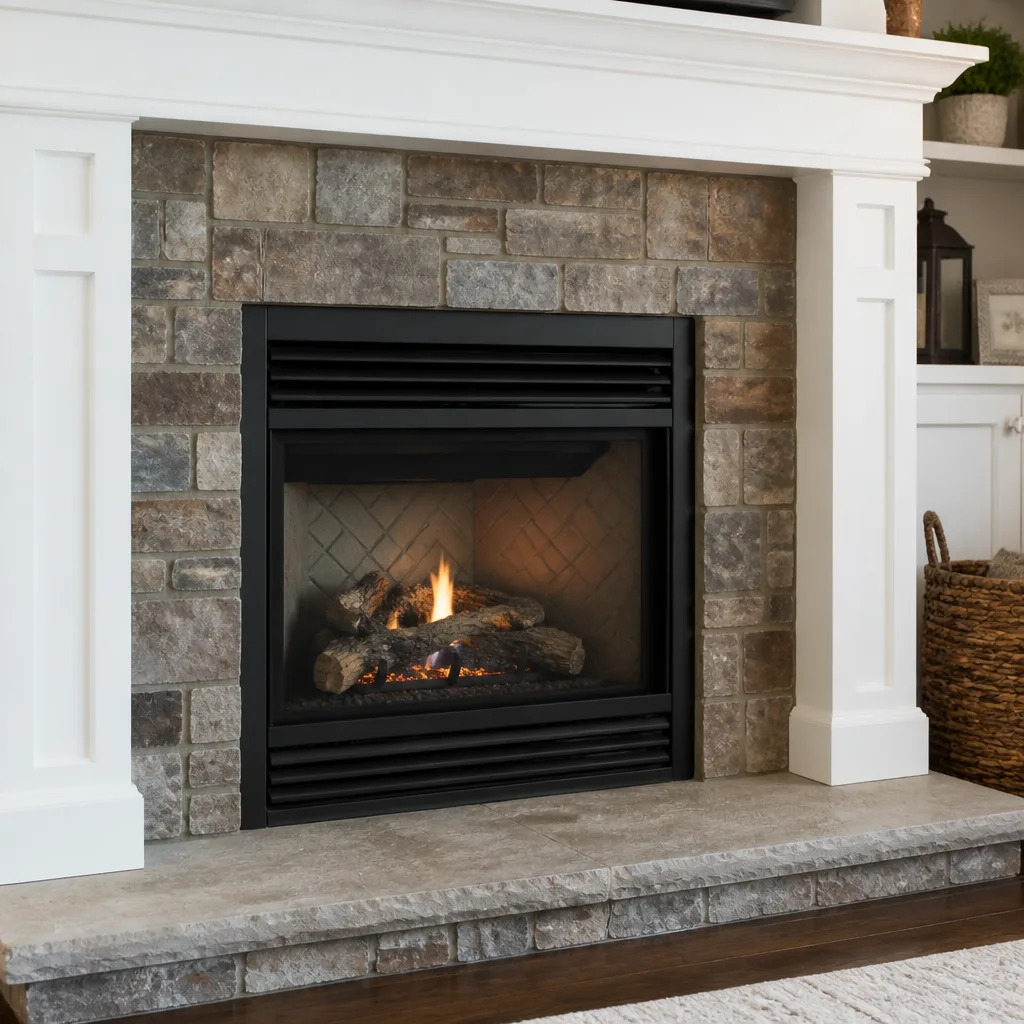 Gas fireplace service
Level 1 sweep and inspection to the NFPA 211 annual standard - flue, crown, cap, and flashing checked and photographed
Chimney sweep logs do not sweep chimneys. They loosen some creosote - which then falls where a brush and vacuum still have to collect it.
Chimney Cleaning Warning Signs: A Myers Park Homeowner’s Reference Guide
White staining on exterior brick isn’t a cosmetic issue. It’s efflorescence, the visible evidence that water is moving through your masonry. The stain is the trail; the damage is inside. Most chimney warning signs work this way: the thing you notice from the driveway or the living room is the downstream result of a failure that started somewhere you can’t see, usually in the flue, the crown, or a hidden mortar joint. That gap between symptom and cause is where homeowners get talked into work they don’t need, or talk themselves out of work they do. This guide ties each visible sign to the structural mechanism behind it, so you can judge urgency for yourself. We’ll cover masonry, odor, rust, cracks, and the Myers Park architectural details that fail early, plus a plain-honest read on when a problem can wait and when it can’t.
Quick Answer
The warning signs that actually matter fall into four groups: water moving through masonry (efflorescence, spalling, frozen-and-thawed mortar), combustion deposits building up (creosote glaze, soot at the damper, smoky smell that isn’t normal woodsmoke), corrosion from moisture (a rusted damper, rust streaks in the firebox), and structural cracking that can open a path for carbon monoxide (cracks through the flue wall rather than just the firebox surface). Cosmetic signs live on the surface; dangerous signs run through the masonry. If you can’t tell which one you’re looking at, that’s exactly what a camera inspection is for.
Styles & brands we work with
- Sweep & inspection
- Caps & crowns
- Flue relining
- Masonry repair
- Gas fireplace service
Table of Contents
- What Does White Staining on the Brick Actually Mean?
- Spalling, Crumbling Mortar, and What They Tell You
- Is That Smell Normal Woodsmoke or Something Else?
- Rust on the Damper and Staining in the Firebox
- Cosmetic Cracks vs. Carbon Monoxide Pathways
- Why Myers Park Chimney Shoulders and Corbeling Fail First
- Creosote Glaze and the Stages of Buildup
- What a Real Inspection Looks Like
What Does White Staining on the Brick Actually Mean?
White, powdery staining on exterior brick is efflorescence, and it’s the visible evidence that water is passing through the masonry. Calcium salts dissolve into moisture as it moves through the brick and mortar, then get left behind on the surface when the water evaporates. The stain isn’t the problem. It’s the fingerprint of the problem, and the problem is a moisture pathway somewhere above it. On a chimney, the most common entry points are the crown, the mortar joints, and a missing or damaged cap.
Efflorescence that appears once and brushes off is usually a sign of a single wetting event. Efflorescence that returns season after season, or that’s paired with a darker damp patch, tells you water is getting in on a regular schedule. The path matters. Water that enters at the crown can travel down the interior of the masonry and show up two or three feet below the roof line. So the stain doesn’t always sit next to its source.
Freezing and thawing makes all of this worse. When the water inside the brick freezes, it expands, and each cycle widens the pores and joints it’s moving through. Water finds a way in, freezes, expands, opens the seam wider. The stain is the byproduct of that whole loop.
This is one of the clearest examples of a sign that looks cosmetic but isn’t. Cleaning the efflorescence off hides the trail without touching the leak. A chimney cap & crown that sheds water properly, and repaired mortar joints, break the loop instead. A camera inspection inside the flue shows whether the moisture has reached the liner.
Spalling, Crumbling Mortar, and What They Tell You
Spalling is when the face of a brick flakes off or pops away in sheets, exposing the softer inner body of the brick. It’s the stage after efflorescence. Where efflorescence is the trail of water moving through, spalling is the brick failing under the same freeze-thaw pressure that water creates. You’ll often see a small pile of brick fragments on the roof flashing or the ground directly below the chimney. That debris isn’t from a bad brick batch. It’s part of the wall coming apart.
Crumbling mortar joints follow the same logic. Mortar is softer than brick by design, so it takes the freeze-thaw damage first. When the joints start to recede or turn sandy, water has an even easier route into the wall, which accelerates the spalling above. The two signs feed each other.
Here is how we think about the progression, because it changes what kind of repair is actually warranted:
- Light efflorescence, sound mortar. Water is moving but the masonry still holds. Look for the source and seal it.
- Recurring efflorescence with softening joints. The wall is taking on water routinely. Repointing and crown work usually stop it.
- Visible spalling, sandy joints, fragments below. The outer brick is failing. Repairs get more involved and more expensive if left longer.
- Spalling with a bulging or leaning chimney. This is structural and needs eyes on it quickly. Don’t keep using the fireplace until it’s assessed.
Each stage down that list changes the cost and the urgency. A homeowner who can read their own wall has a real advantage in a conversation with any contractor. That’s a big part of why a chimney sweep here starts with the exterior as well as the flue. The wall tells you what happened inside the flue.
Is That Smell Normal Woodsmoke or Something Else?
Normal woodsmoke fades within a day or two of a fire, especially after the chimney has cooled. If a smell lingers for days, gets stronger in humid weather, or smells acrid and tarry rather than like a campfire, it’s telling you something is stuck inside the flue. Three smells matter most, and each points to a different cause.
- A sharp, tarry, creosote smell that worsens on warm, humid days. This is glazed creosote releasing volatiles. Heat and humidity pull it out of the flue and back into the room. It tends to come back every summer.
- A sour, damp, musty smell (sometimes described as a wet basement smell) points to moisture in the masonry or flue, often from a crown or cap that isn’t shedding water.
- A smoky, draft-reversal smell that shows up on certain wind directions or cold starts, when smoke doesn’t rise and rolls back into the room. This is a draft or obstruction issue, not a cleaning issue by itself.
A creosote smell and a moisture smell can arrive together, and that combination is the one we’d flag fastest. Moisture swells the creosote, softens it, and makes it easier for the flue to release it into the room. On top of that, a moist flue is a colder flue, so it drafts worse, so more smoke lingers. Once the loop is running, it doesn’t stop on its own.
Smell is also one of the easiest things a homeowner can notice before any visible damage shows up. If you notice a consistent smell profile, write down when it appears, on what weather, and what the fireplace has been doing. That record makes an inspection faster and more useful.
Rust on the Damper and Staining in the Firebox
A rusted damper is a moisture signal, not a metal defect. Dampers are cast iron or steel in a spot that should stay dry. Rust there means water is reaching the firebox from above, which usually means the crown or cap is compromised and water is tracking down the inside face of the flue. The rust you see is the last stop on a long trip.
Firebox staining works the same way. Rust-colored streaks on the firebox walls, or staining that runs in vertical lines down from the throat, suggest water is coming down through the flue rather than up from the hearth. Compare that to soot staining that appears in a low, even pattern across the back wall. Soot is combustion. Rust is water. They’re telling you two completely different things.
The most useful test we run is whether the rust pattern is fresh or historical. A single rust streak that’s older than the crown replacement on record is probably leftover. Fresh rust, sticky creosote at the damper, and damp ash in the firebox together are three signals of an active moisture pathway.
Left alone, water in the firebox peels the paint, rusts the damper permanently, and soaks into the smoke shelf above the damper. From there it can reach the liner. A rusted damper is often the cheapest possible sign to catch early. It’s also the one most often dismissed as a metal thing that “just happens”. It doesn’t have to.
Cosmetic Cracks vs. Carbon Monoxide Pathways
Not all cracks in a firebox are a carbon monoxide risk. Firebox brick expands and contracts with every fire, and hairline cracks in the firebox refractory (often from repeated thermal cycling) are extremely common. A crack across a firebox brick face with sound joints around it is usually a surface crack from heat, not a pathway.
The cracks that matter are the ones that go through something, or that run along a seam where two components meet. Here’s how we tell them apart by eye:
- Firebox surface hairline. Thin, on the brick face, no depth visible at the edge. Usually cosmetic until a crack is wide enough to slip a dime into. If it’s wide, it gets assessed.
- Crack at the smoke chamber or damper seam. These run at the intersection of two masonry elements, and they often bridge to the flue interior. This is a pathway worth a camera check.
- Crack through the flue tile. You can’t usually see this from the firebox. The flue tile lives above the smoke chamber. A camera inside the flue finds it. Cracks through flue tile are the ones that let carbon monoxide drift into a wall cavity or an adjacent room.
- Displaced or missing mortar at the flue joint. Visible as freshly exposed ceramic or dark gaps during inspection. This is a flue breach, not a firebox flaw.
Carbon monoxide has no smell, so the only thing you have is visible evidence of a pathway. That means any crack that could reach the cavity around the flue gets checked with a camera, not just looked at from below. This is where a standalone proper chimney inspection shows its value. You can get the camera into the flue and see the pathway before anyone recommends a reline or a rebuild.
The lines that make relining safe and reliable have improved a lot. A flexible stainless liner like DuraFlex handles offset or older flues that a straight replacement can’t work with. A HeatShield resurfacing can restore a deteriorating flue interior without full demolition in many cases. But both of those are repair paths for a confirmed problem. The camera decides. Not the visible crack.
Why Myers Park Chimney Shoulders and Corbeling Fail First
The shoulders of a chimney (the stepped brickwork where the wide base narrows toward the flue) and corbeled details on older homes are the first places we look for spalling, because the shoulders take the most water and lose heat fastest. A chimney shoulder is a horizontal ledge. Water collects on it, especially when it’s under the roofline or shaded. The outer row of brick at that ledge has nowhere to drain, so it’s the first to freeze, the first to spall, and the first to lose mortar.
Corbeled detail (the small stepped brick courses sometimes used around the crown or at the shoulder transition) has more exposed edges than a flat wall. Each step is a place where water can sit and where freeze-thaw can pry a joint apart. On older Myers Park homes, these corbeled sections are often the detail that made the chimney look distinctive when it was built, which is exactly why they’re not the part you want to lose.
The failures here happen in a predictable order:
- Mortar at the shoulder ledge softens and recedes.
- Efflorescence appears below the shoulder, not above it, because that’s where the water exits.
- Spalling appears on the outer face of the shoulder brick.
- The shoulder starts to show visible gaps or a rough, grainy face.
- The corbel course above starts to lose its supporting mortar.
If a Myers Park homeowner sees white staining or spalling concentrated below a shoulder, the failure is almost certainly at the shoulder, not at the stain. Homeowners rarely notice this because they’re looking at the height of the chimney, or the crown. The shoulder is at eye level from the driveway but a foot below where people naturally scan.
The fix is not always a rebuild. Repointing the shoulder joints, restoring the crown, and making sure the cap is tight and correctly sized will often stop the failure before the corbel course is involved. On a Myers Park home where the chimney is an architectural feature, catching it early matters for both safety and appearance.
Creosote Glaze and the Stages of Build-up
Creosote forms in three recognizable stages, and only the first sweeps out cleanly with a normal brush. Stage one is light, flaky soot that brushes off easily. Stage two is a dry, flake-and-crumb mixture that can still be swept but takes more work. Stage three is glazed, tar-like, and bonded to the flue tile. A standard brush passes right over it without removing it, which is one reason a chimney can look “swept” and still be a fire risk.
Glazed creosote is what ignites in a chimney fire. It also restricts the flue, so smoke cools faster and deposits more creosote. The thicker the glaze, the harder the draft, and the worse the problem gets. Glaze is also the reason a smell lingers in the summer, because heat pulls those compounds out of the flue even when you’re not burning.
What tells you the creosote is past stage one?
- Shiny, tar-black coating visible from the firebox toward the damper. Glossy means glazed.
- Hard, black crust on the damper blade or the smoke shelf. If it doesn’t come off with a fingernail, it’s bonded.
- Reduced draft, smoky starts, and back-puffing even when the fire is well-lit. A restricted flue behaves like this.
- Persistent acrid smell in warm weather. Volatiles are coming off the glaze.
Stage three creosote is not something to attack from a ladder with a brush. Removing glazed creosote from the flue tile without damaging the tile takes a professional approach and, in the worst cases, may justify relining with DuraFlex or resurfacing with HeatShield if the tile itself has been compromised. The point is not to sell you a reline. The point is to catch glaze while a full sweep still solves it.
Burn habits set the pace. A hot, well-aired fire produces less creosote. A smoldering, air-starved fire produces far more. Wet wood produces even more. These are things a homeowner can change, which is one reason we walk through the burn pattern after a sweep.
What a Real Inspection Looks Like
A real chimney inspection follows a defined sequence and produces something a homeowner can look at afterward. Here’s the process we run, because it’s also the way to tell a serious inspection from a quick look up the flue:
- Walk the exterior first. Look for efflorescence, spalling, cracked crown, cap damage, and shoulder erosion. This is where we usually locate the source before we ever peer inside.
- Check the firebox and damper. Rust, staining pattern, creosote stage, and crack width at the firebox face and throat.
- Camera the flue. A camera goes up the flue to check for cracked or displaced tile, gaps at the smoke chamber, and glazed creosote. Photographs come back to the homeowner.
- Check the smoke chamber and cap. The smoke chamber is the sloping transition above the damper. It collects soot and hides cracks. The cap and crown shed water, so both get checked every visit.
- Review with you before any repair. You see the photograph. You hear the explanation. The written recommendation names the specific repair, why it’s needed, and what the alternative (waiting, monitoring) looks like.
Inspection as a standalone service matters here. Some homeowners want a professional read on their chimney with no pressure to book repair work at the same visit. Some want the sweep and the inspection together. Both are reasonable. A standalone inspection is the cleanest way to get an honest picture before deciding anything.
The output is what turns warning signs into decisions. A stain from the driveway is a question. A camera photo of the actual pathway is an answer. That difference is what makes the “you need a new liner” conversation possible to have without suspicion on either side.
Common Mistakes to Avoid
- Cleaning efflorescence off the exterior and calling it solved. It hides the trail and leaves the moisture pathway intact. The stain returns and the brick is older by then.
- Treating any hairline crack in the firebox as a carbon monoxide emergency, or ignoring a crack at the smoke chamber because it’s small. Firebox face cracks are usually cosmetic. Cracks through the smoke chamber and flue tile are not. The location matters more than the size.
- Assuming a “swept” chimney is a stage-one creosote chimney. Glazed creosote looks clean from below but passes right past a standard brush. Always ask what stage the creosote is at.
- Smelling creosote in July and waiting until fall to do anything. The smell means the flue is releasing volatiles, and the problem has been there for months. It’s not improving by sitting.
- Writing off a rusted damper as “cast iron rusts”. It rusts when water reaches it. That water came from somewhere above.
- Skipping the exterior walk. Myers Park shoulder and corbel failures start where the driveway doesn’t naturally catch your eye. Anyone who starts and ends with a flashlight up the flue has missed half the chimney.
- Letting an inspection turn into a sales pitch before you’ve seen evidence. No photograph, no case for the repair. That’s a boundary worth holding with any contractor.
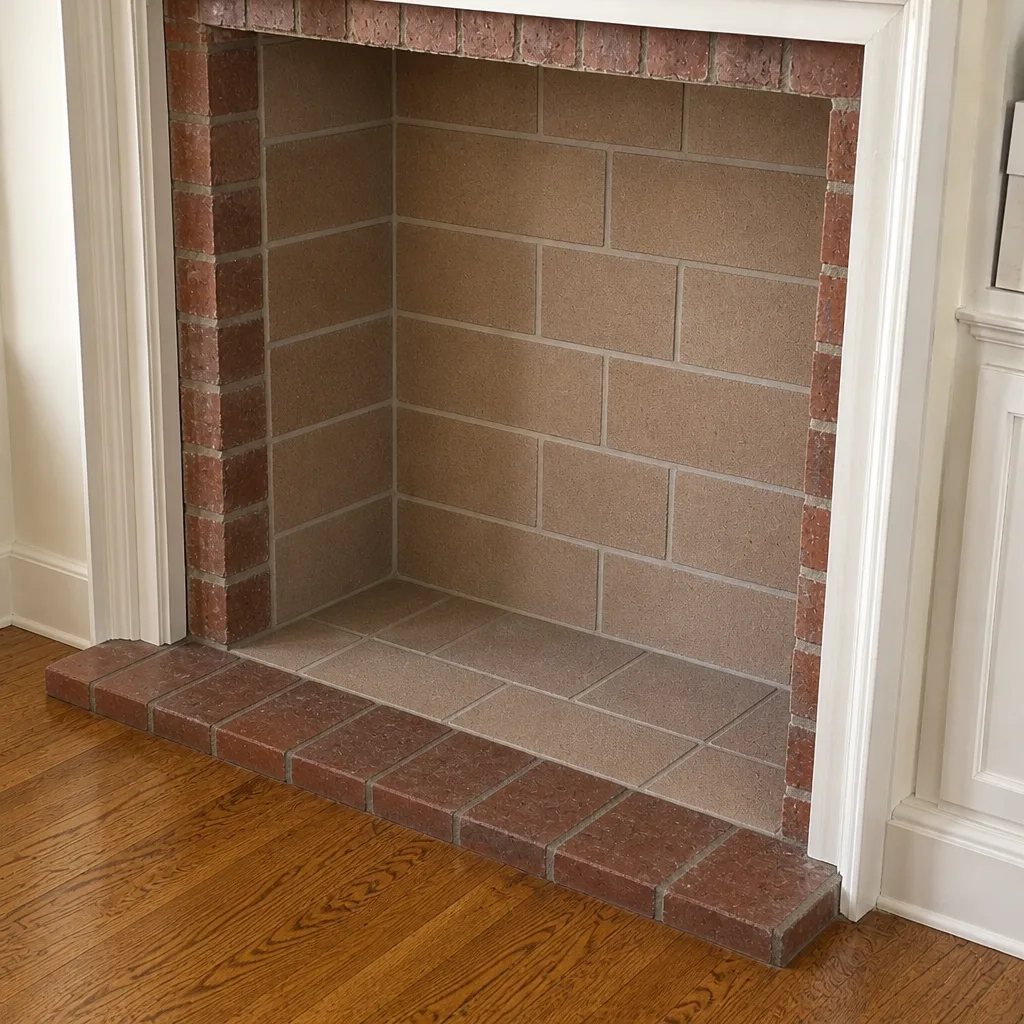
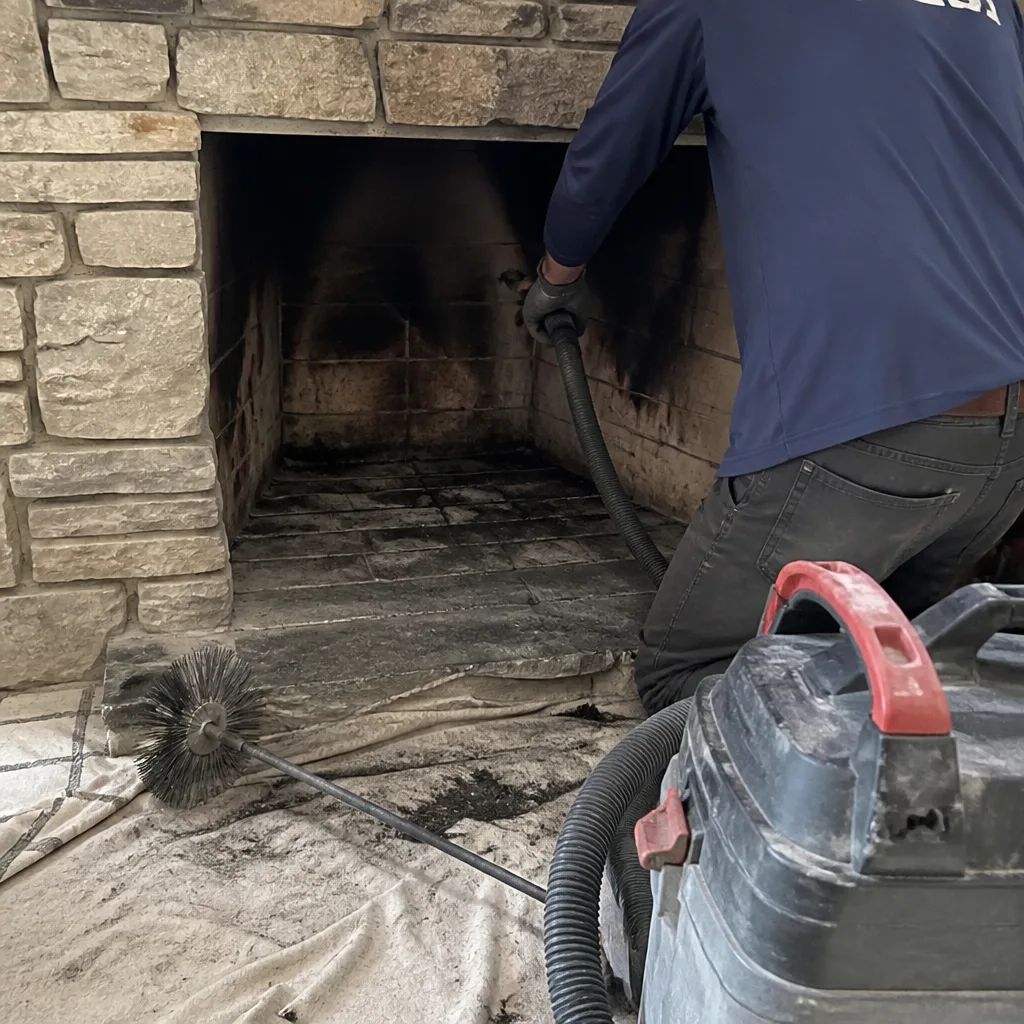
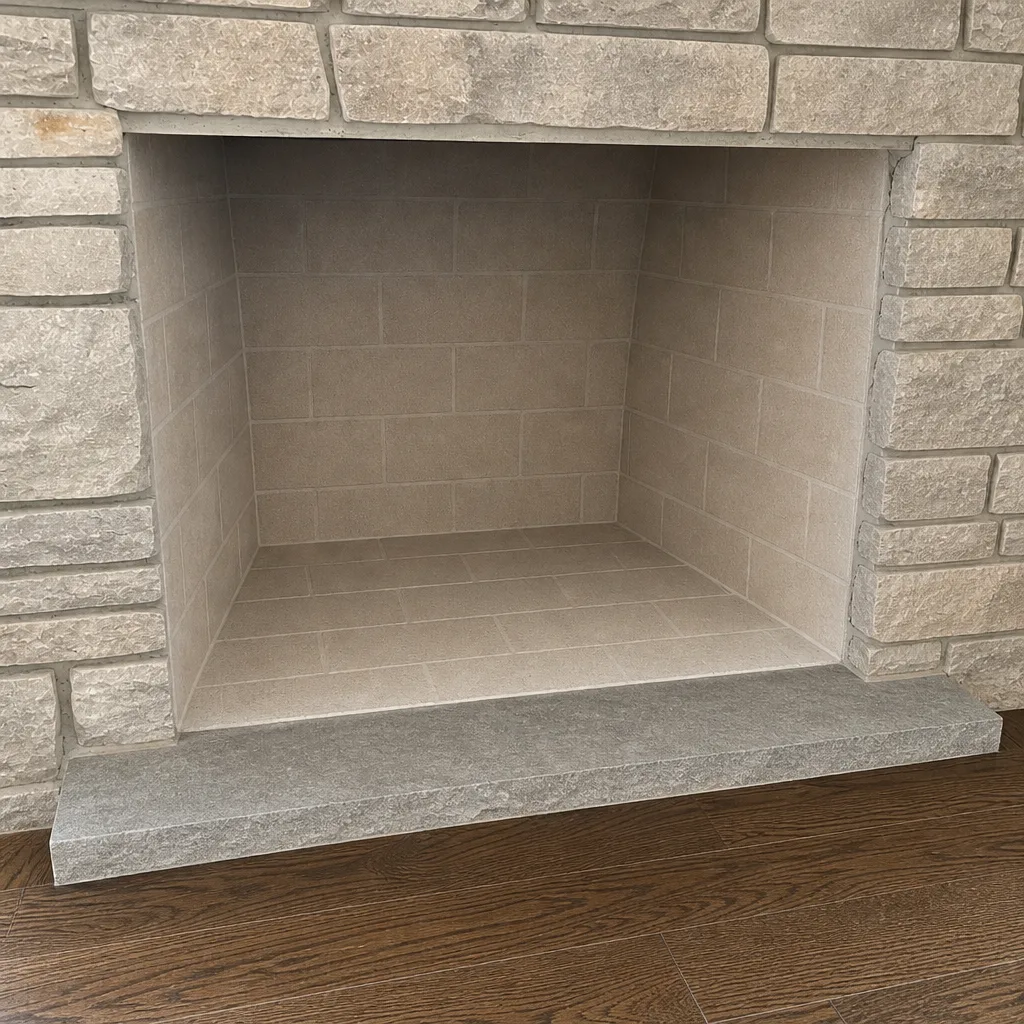
See the difference
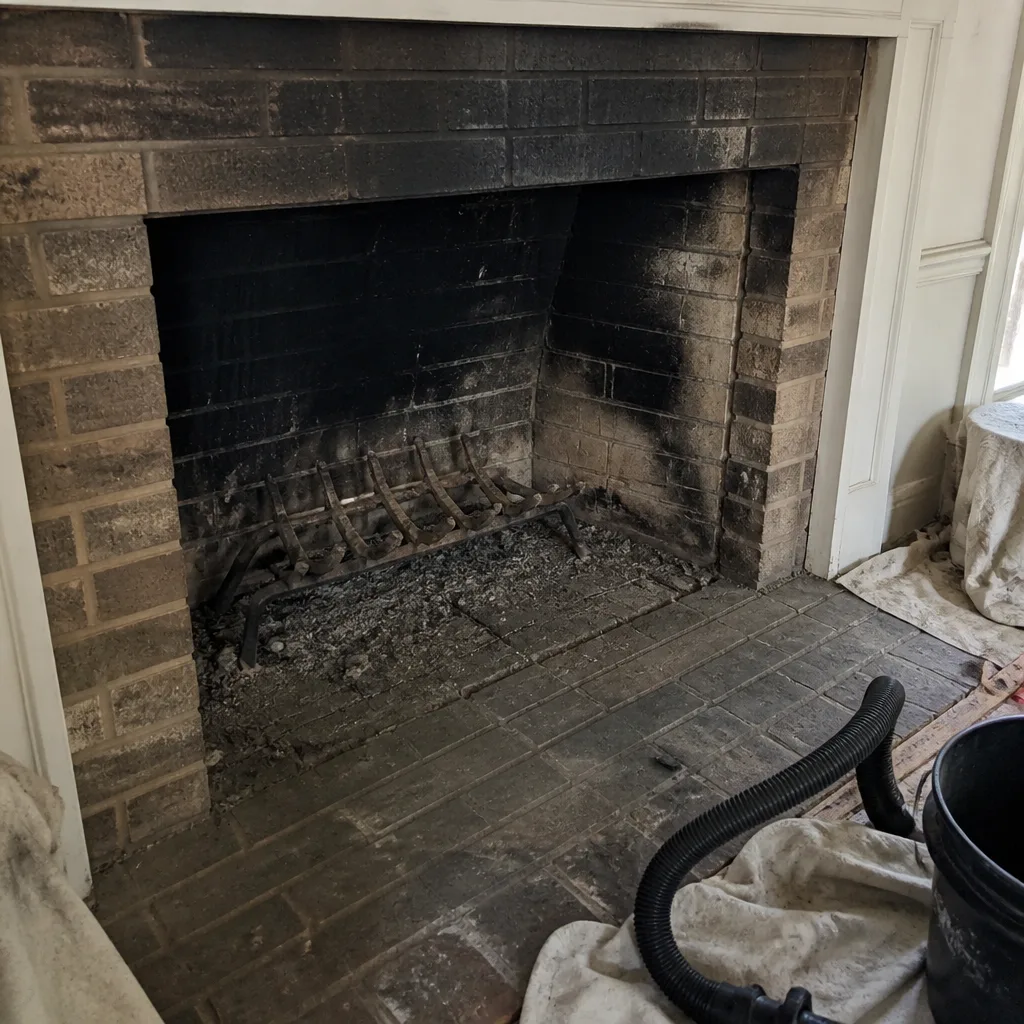 Before
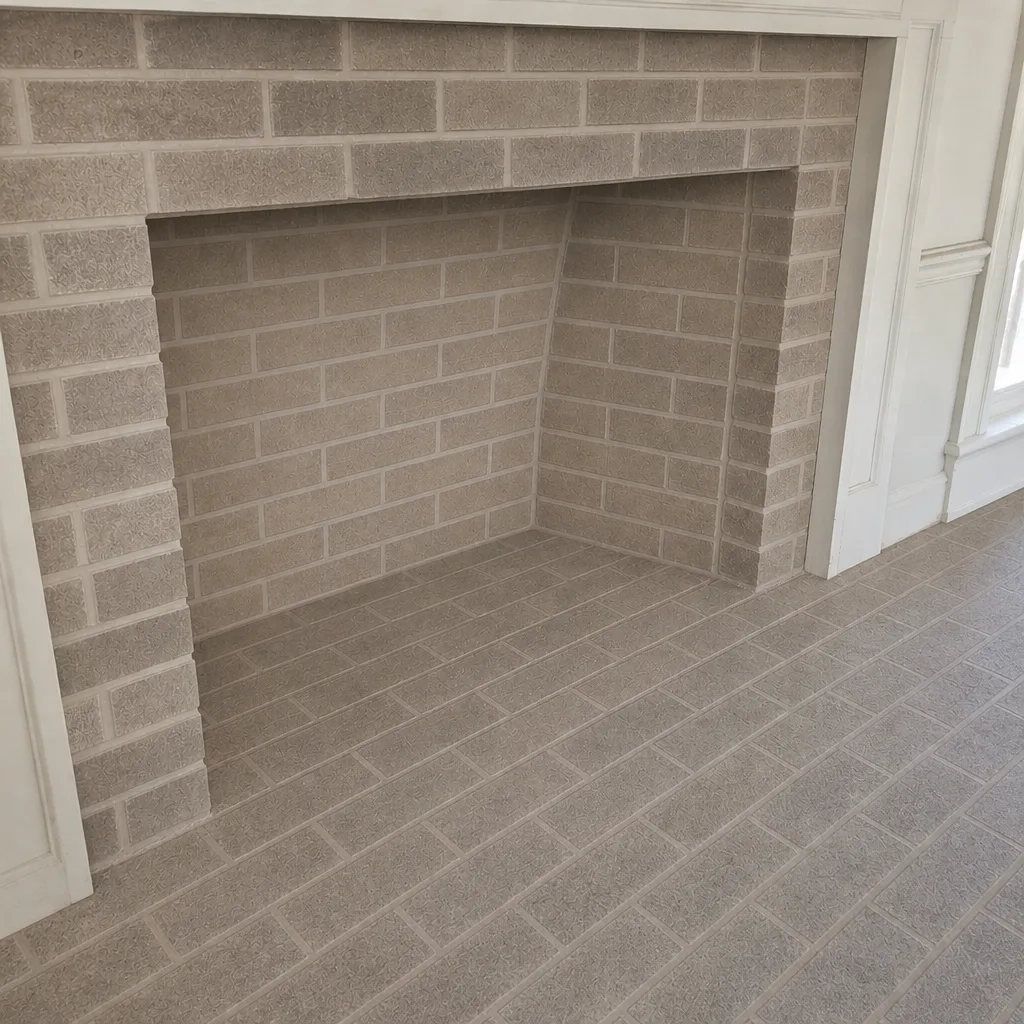 After
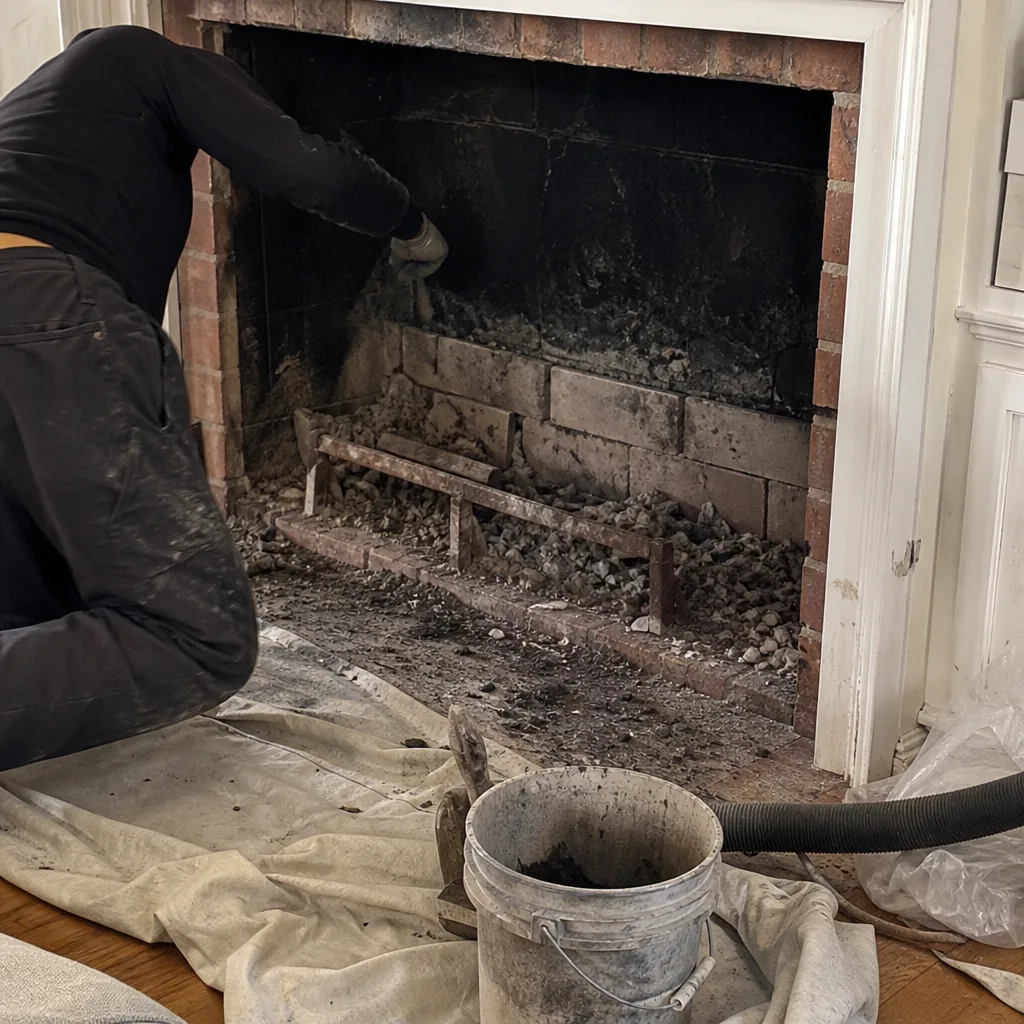 Before
 After
 Before
 After
When to Call a Professional
Some warning signs can wait for a scheduled sweep. Others shouldn’t. Call a professional now if you see any of these: visible spalling with fragments below the chimney, a chimney shoulder that’s crumbling or bulging, a fresh rust streak in the firebox with damp ash, a tarry smell that comes back in warm weather, a smoky draft that reverses on certain wind directions, or a crack at the smoke chamber or damper seam. Those are the cases where the trail leads to a pathway that matters.
Unless you’ve had a camera inspection in the last year and the flue was clear, a persistent creosote smell or a glazed layer at the damper is also a call. Chimney Sweep Myers Park offers free estimates in Myers Park. Call (833) 902-6314. We answer 24/7. Fast dispatch from 7am to 7pm, Sunday through Friday.
Frequently Asked Questions
Once a year if you burn wood, and again at any point when you notice creosote buildup at the damper or a smell that lingers. Annual sweeping matches the seasonal rhythm of wood burning, and it catches warning signs before they become repair work. If you burn less than a cord a year and store dry wood, an inspection-based schedule works too. The camera decides; the calendar is just a starting point.
Not unless the camera shows a pathway through the flue tile or a badly glazed interior that can’t be swept clean. Many chimneys that get the “new liner” pitch are actually good candidates for HeatShield resurfacing or a targeted tile repair. A reline is the right answer when the flue has failed. It’s the wrong answer when the flue is intact and the roof cap is the real problem. Ask to see the camera evidence before agreeing to anything.
Firebox face cracks are usually from thermal cycling and don’t reach the cavity. The dangerous ones run through the smoke chamber seam or the flue tile, where gas can escape into wall cavities or an adjacent room. You can’t reliably see those from the firebox. A camera in the flue does. If the crack is at the throat or the smoke chamber, treat it as a pathway until a camera says otherwise.
Heat and humidity pull volatile compounds out of glazed creosote and moisture-soaked masonry, and those compounds travel down the flue into the room. It’s the same creosote, just releasing into a warmer house. A sour, damp smell points toward moisture rather than creosote. Either way, the smell is telling you what’s been sitting in the flue since the last fire.
Efflorescence is a sign of water movement, but a single episode that brushes away cleanly may be one wetting event. Staining that returns each season, or that comes with softening mortar or spalling, means the pathway is active. On Myers Park homes with stepped shoulders or corbeled details, the stain often concentrates below the shoulder, which is where the leak originates. Call (833) 902-6314 for a free estimate if the staining comes back.
Creosote builds each fire, and glaze forms faster in a cool or restricted flue. That glaze is the fuel for a chimney fire, and a cracked flue tile is a carbon monoxide pathway. Skipping a sweep doesn’t fail all at once. It fails a little faster every season, which is why the visible signs matter: they tell you where you are on that curve.
The Bottom Line
Visible warning signs are the end of a story that started somewhere you can’t see. Efflorescence is the trail of water, spalling is the brick giving up under freeze-thaw, a rusted damper is moisture arriving from above, and a crack at the smoke chamber seam is a carbon monoxide pathway that only a camera can confirm. On Myers Park homes, chimney shoulders and corbeled details are the early-failure points worth checking from the driveway. Read the sign, ask for the underlying cause, and insist on seeing the evidence before agreeing to repair work. That’s the whole method. A photograph from the flue costs you nothing to look at, and it settles most conversations. From the firebox to the cap, that’s the way we approach a fireplace repair here in Myers Park. Call (833) 902-6314 for a free estimate. We answer 24/7. Fast dispatch from 7am to 7pm, Sunday through Friday.
Written by the team at Chimney Sweep Myers Park.